“No Weapons, No Mercy”: The Definitive Megabonk Pacifist Challenge Guide


Popular Now
 Auto X Drift Racing 3
 PUBG Mobile
 The Legend of Zelda
 Call of Duty
 Among Us
 Garena Free Fire: Kalahari
Valorant
Garena Free Fire: Kalahari
Valorant
 BeamNG.drive
 Geometry Dash
 CarX Street
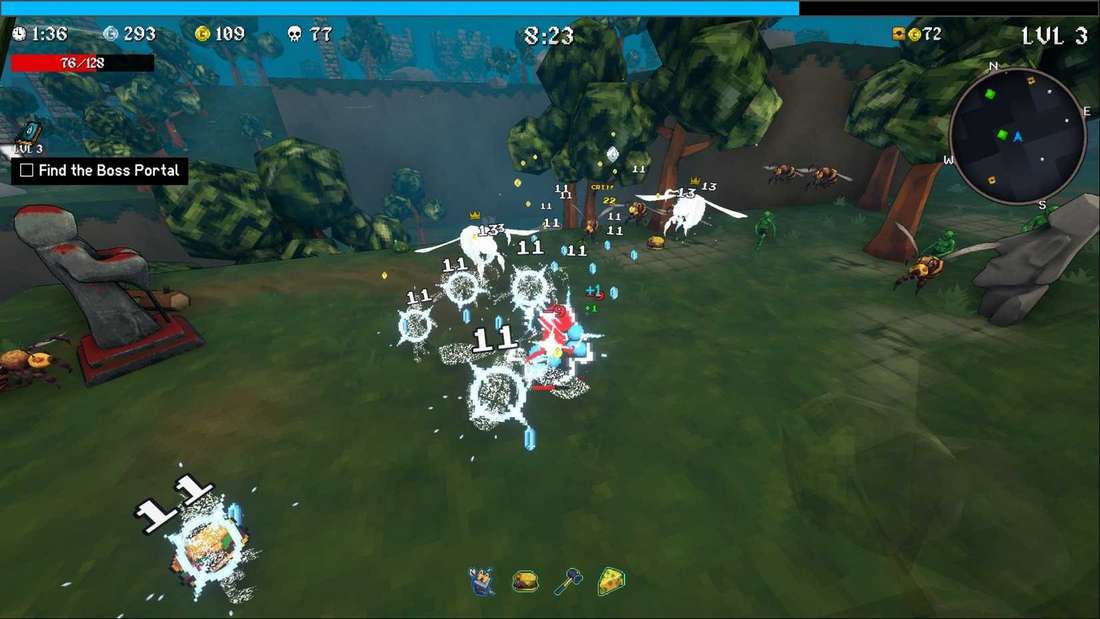 The “Pacifist Challenge” in the viral 3D horde-survival rogue-lite, Megabonk, is widely considered one of the game’s most intellectually demanding and high-ROI (Return on Investment) assignments. The core requirement is simple yet brutally difficult: Complete a run without selecting any weapons. Since automatic attacks are the default form of enemy elimination, this challenge forces players to rely exclusively on passive item effects and reflected damage to survive and, eventually, defeat the final boss. This expert guide provides a strategic framework to conquer the “No Weapons” run, focusing on the essential Tomes and Items that guarantee a high-conversion rate for this achievement.
 Choosing Your Conscientious Objector: The Character Meta
The selection of your character is the most critical decision, as their starting passive ability must be leveraged for non-weapon damage. For a stable, high-percentage run, only a few characters qualify:
- Sir Oofie: The Safest Pick. His passive grants increased Armor, which is crucial for maximizing the damage potential of the Thorns Tome (reflected damage). More Armor means your HP/Shield lasts longer, allowing enemies to kill themselves against you. This minimizes risk and maximizes player retention in the run.
- Athena: The Aggressive Contender. Athena’s passive often revolves around damage boosts when low on HP or other self-sustaining mechanics. Crucially, community runs have shown that a build focusing on her innate survivability combined with the right passive items can snowball into a fast, highly effective Pacifist run.
- Amog (Monke): The High-Risk/High-Reward Option. Monke’s movement and jump-focused passive can be exploited for rapid map traversal to quickly collect XP and break pots for early items. However, his lack of innate defensive stats makes the early game highly volatile.
The Unholy Trinity: Essential Tomes and Leveling Priority
Since you cannot rely on weapon DPS, your level-up choices—your Tomes—must be exclusively dedicated to survivability and reflected damage. Prioritize unlocking and disabling all non-essential items in your Toggler to increase the spawn chance of these core Tomes.
Primary Tomes (Absolute Must-Haves):
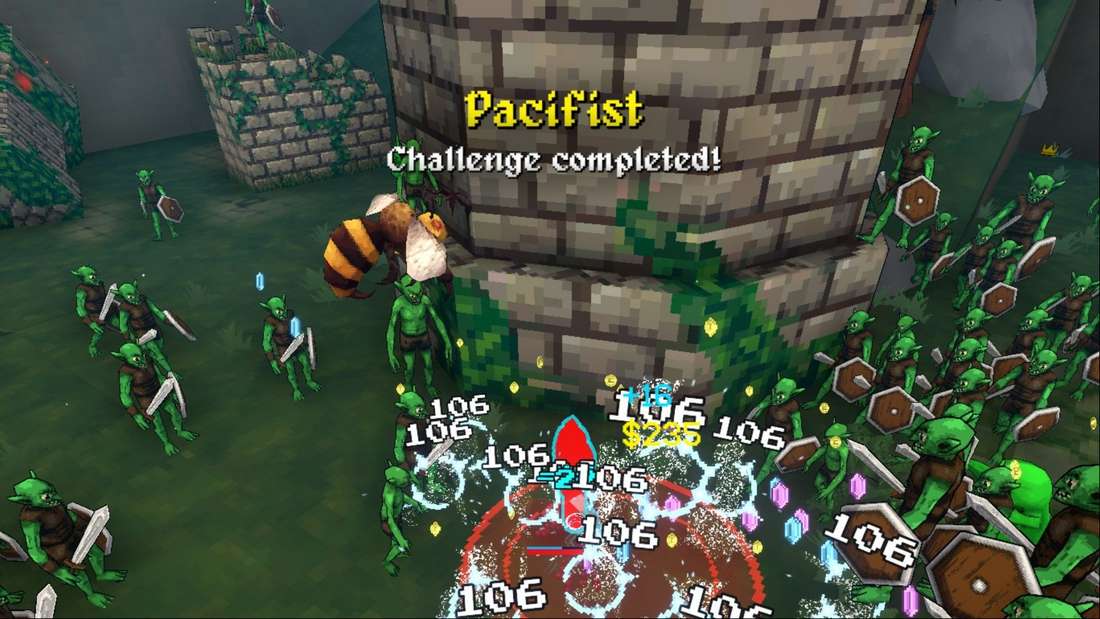
- Strong Tome: Thorns (Reflected Damage): This is your primary source of kill-power. Every point directly contributes to enemies damaging themselves when they hit your character or shield. Prioritize this to maintain a high kill-rate for XP. Aim for a high Thorns level to ensure common enemies die in a single hit to your Shield.
- Strong Tome: Shield: The Ultimate Defensive Tool. Shields absorb damage before your HP, and more importantly, they are the primary mechanism that procs your Thorns damage. Your goal is to maximize the time your Shield is active while enemies are hitting you. The faster your Shield regenerates, the faster you can re-engage.
Secondary Tomes (For Survivability and Economy):
- Armor: Reduces incoming damage by a percentage. This directly increases the effective Endurance of your Shield and HP, further allowing enemies to kill themselves against your Thorns.
- HP Regen: Essential for recovering between engagements when your Shield is down. You should aim to passively recover HP while only being attacked when your Shield is ready for a new wave of reflected damage.
- XP Tome & Luck Tome: These are your Investment Pieces. An early investment in XP will exponentially speed up your level-ups, ensuring you get your core Thorns and Shield Tomes maxed out sooner, creating a powerful snowball effect that is crucial for surviving the mid-game elite spawns.
 The Pacifist’s Arsenal: Items and Strategy (Indirect Kills)
The Pacifist Challenge specifically allows for kills generated by Items—this is your loophole. Focus on passive damage and environmental effects.
The Golden Item Choices (The High-CPC Killers):
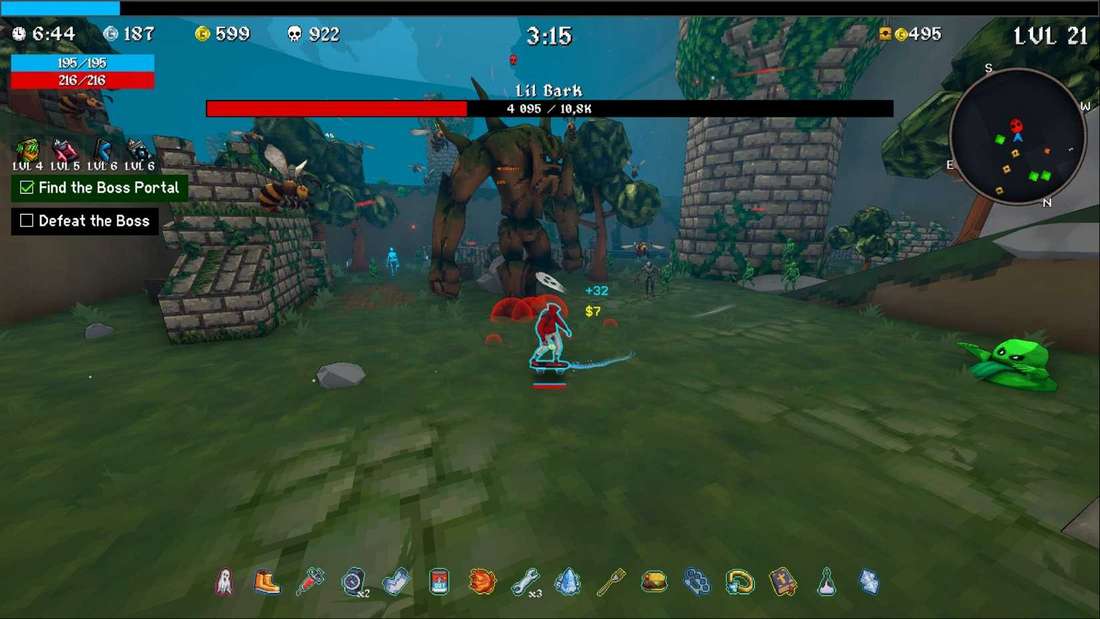
- Cursed Doll: This item is a game-changer. It passively targets and kills a random enemy over a short duration, effectively being a free source of consistent DPS that bypasses the “no weapons” restriction. It is particularly effective against the notoriously tanky Mini-Bosses that spawn around the 7-minute mark.
- Toxic Barrel (Moldy Cheese): This provides an Aura-based Poison damage effect. Since it’s a passive item, it counts as a legal kill. Maxing this item creates a damage zone around your character, allowing you to walk through low-HP mobs and clear them for XP without ever having to be hit.
- Mitigating Mittens (Thunder and Blood): These items provide on-hit or on-damage effects (like chain lightning or lifesteal) that function as indirect damage. Stacking the Thunder Mitten can provide significant, area-of-effect damage from a single enemy hit, clearing the surrounding horde.
- Quin’s Mask (Optional, but Powerful): This mask often interacts with enemy aggression or effects, and has been cited in successful community runs for its synergistic, non-direct damage output.
Execution and Phase Strategy
Phase 1: The Early Game Scramble (0:00 – 3:00)
- Immediate Action: Do not engage the first mobs. Prioritize smashing every pot and activating the first Charge Shrines you find. You need early Gold and XP to start your Tome build.
- The Snowball: Immediately invest all level-up choices into Shield and Thorns. You must be able to kill common enemies by contact before 3:00, or you will be overwhelmed.
- The Moai Statues: Seek out the Moai Statues for a guaranteed item. Pray for a Cursed Doll or Toxic Barrel.
Phase 2: Mid-Game Survival and Scaling (3:00 – 10:00)
- Thorns Tactic: Use your Shield as a “Bonk” mechanic. Run directly into large enemy groups to proc Thorns and quickly break your Shield. Then, immediately retreat to kite around the edges of the map, breaking more pots and letting your Shield (and HP) regenerate. This high-throughput method maximizes passive damage.
- The Boss Rush: Consider activating the Final Boss early (around 5-7 minutes) if you have strong Cursed Doll or Thorns scaling. The final boss has a colossal HP pool, and the time the swarm ghost starts spawning can be leveraged for extra, environmental kills on the boss.
Phase 3: Final Boss Elimination (10:00+)
- Kite and Wait: The final boss must be killed by your Thorns and Items. Your strategy is purely defensive: Dodge every attack and use the boss’s own hitbox to inflict Thorns damage during the brief, safe windows of engagement.
- Environmental Assistance: The Final Swarm of ghosts that spawns after the timer runs out can sometimes assist with boss damage or provide a stream of XP to get those last few crucial levels. Use your Cursed Dolls to chip away at the boss’s immense health bar while you focus on perfect movement.